Uploading a Test to Stratos™ Studio
Uploading saves the actions in your action list to Stratos™ Studio as a scenario, so it can be organized into test suites and included in test runs.
To upload you must be signed in, have at least one action in the list, and recording must be stopped.
Set your project
The upload flow is organized by Organization → Project → Test Suite → Feature → Scenario. If you belong to several organizations or projects, first pick where the test goes:
- Open the settings menu (gear icon) and select Set Project
- Choose your Organization and Project
- Click Save
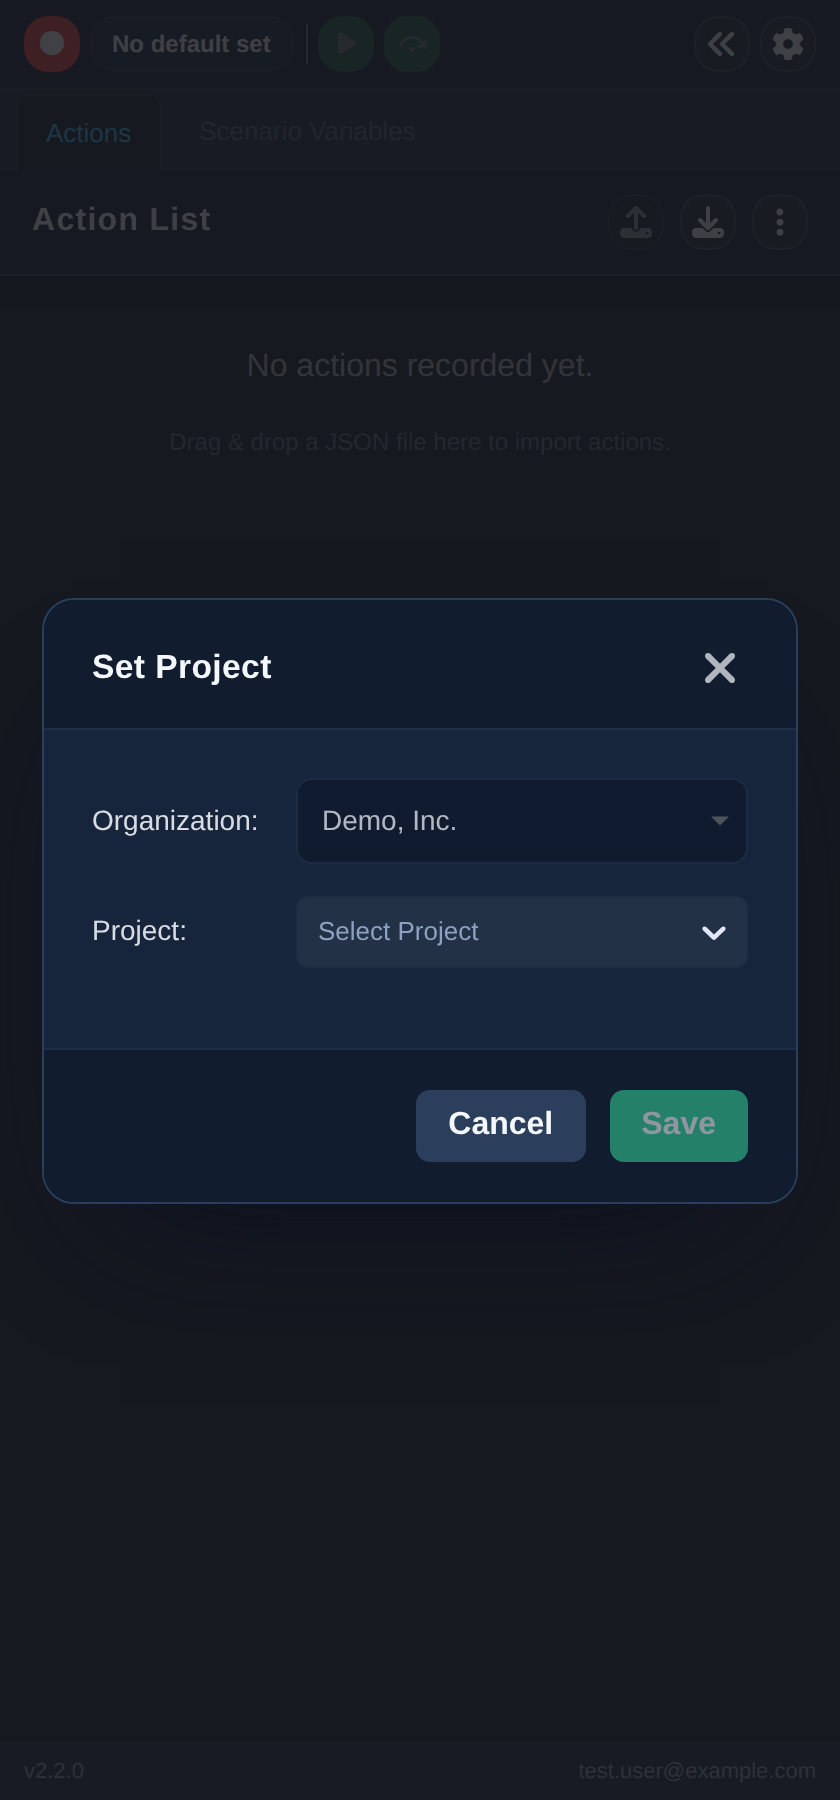
Upload the test
- Click the upload button in the Action List header
- Pick the Test Suite and Feature for the scenario
- Click Next
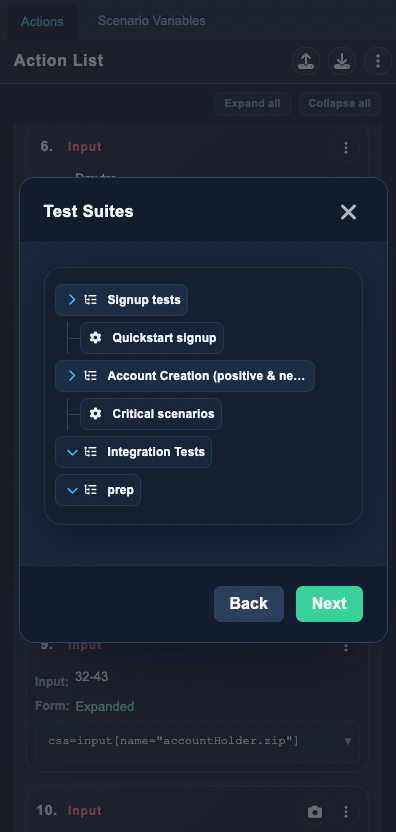
- In the scenario step, enter a Scenario title and an optional Description
- Click Upload
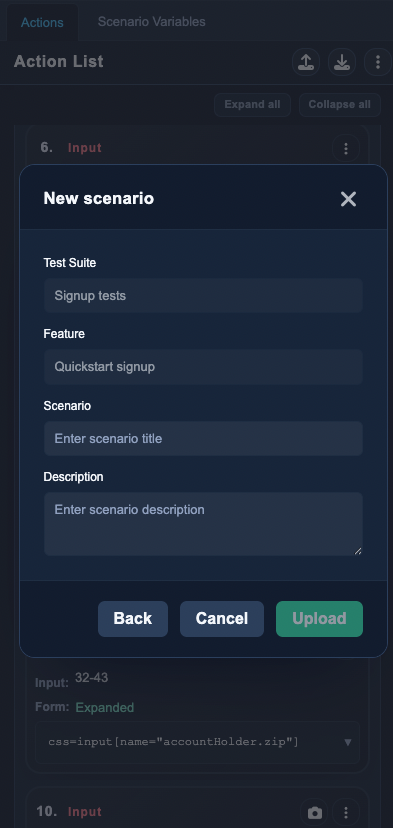
If the feature already has scenarios, you can choose between Update existing (pick the scenario to overwrite with the current actions) and Create new. A confirmation appears when the upload succeeds.
Steps you have already completed are skipped automatically — for example, if you have only one organization and project, the flow starts right at the test suite selection.
After uploading, the scenario is available in Stratos™ Studio — see Run Test in Stratos™ Studio.